How To's, Musings

Pheasant Feast

I know, I know, deer season has just come and gone and here I am still writing about pheasant. And yes, it was a successful deer season, with 3 out of 3 tags filled in my family. But I did say I would write about those delicious little pheasant nuggets sometime, and I’m not one to back down from a promise, and pheasant season isn’t over yet, so back to pheasant hunting it is – specifically, my family’s favorite ways to cook up pheasant.

My dad invested in a dual basket gas cooker (basically a heavy duty deep fat fryer) a few years ago.

IMG_4325 IMG_4327

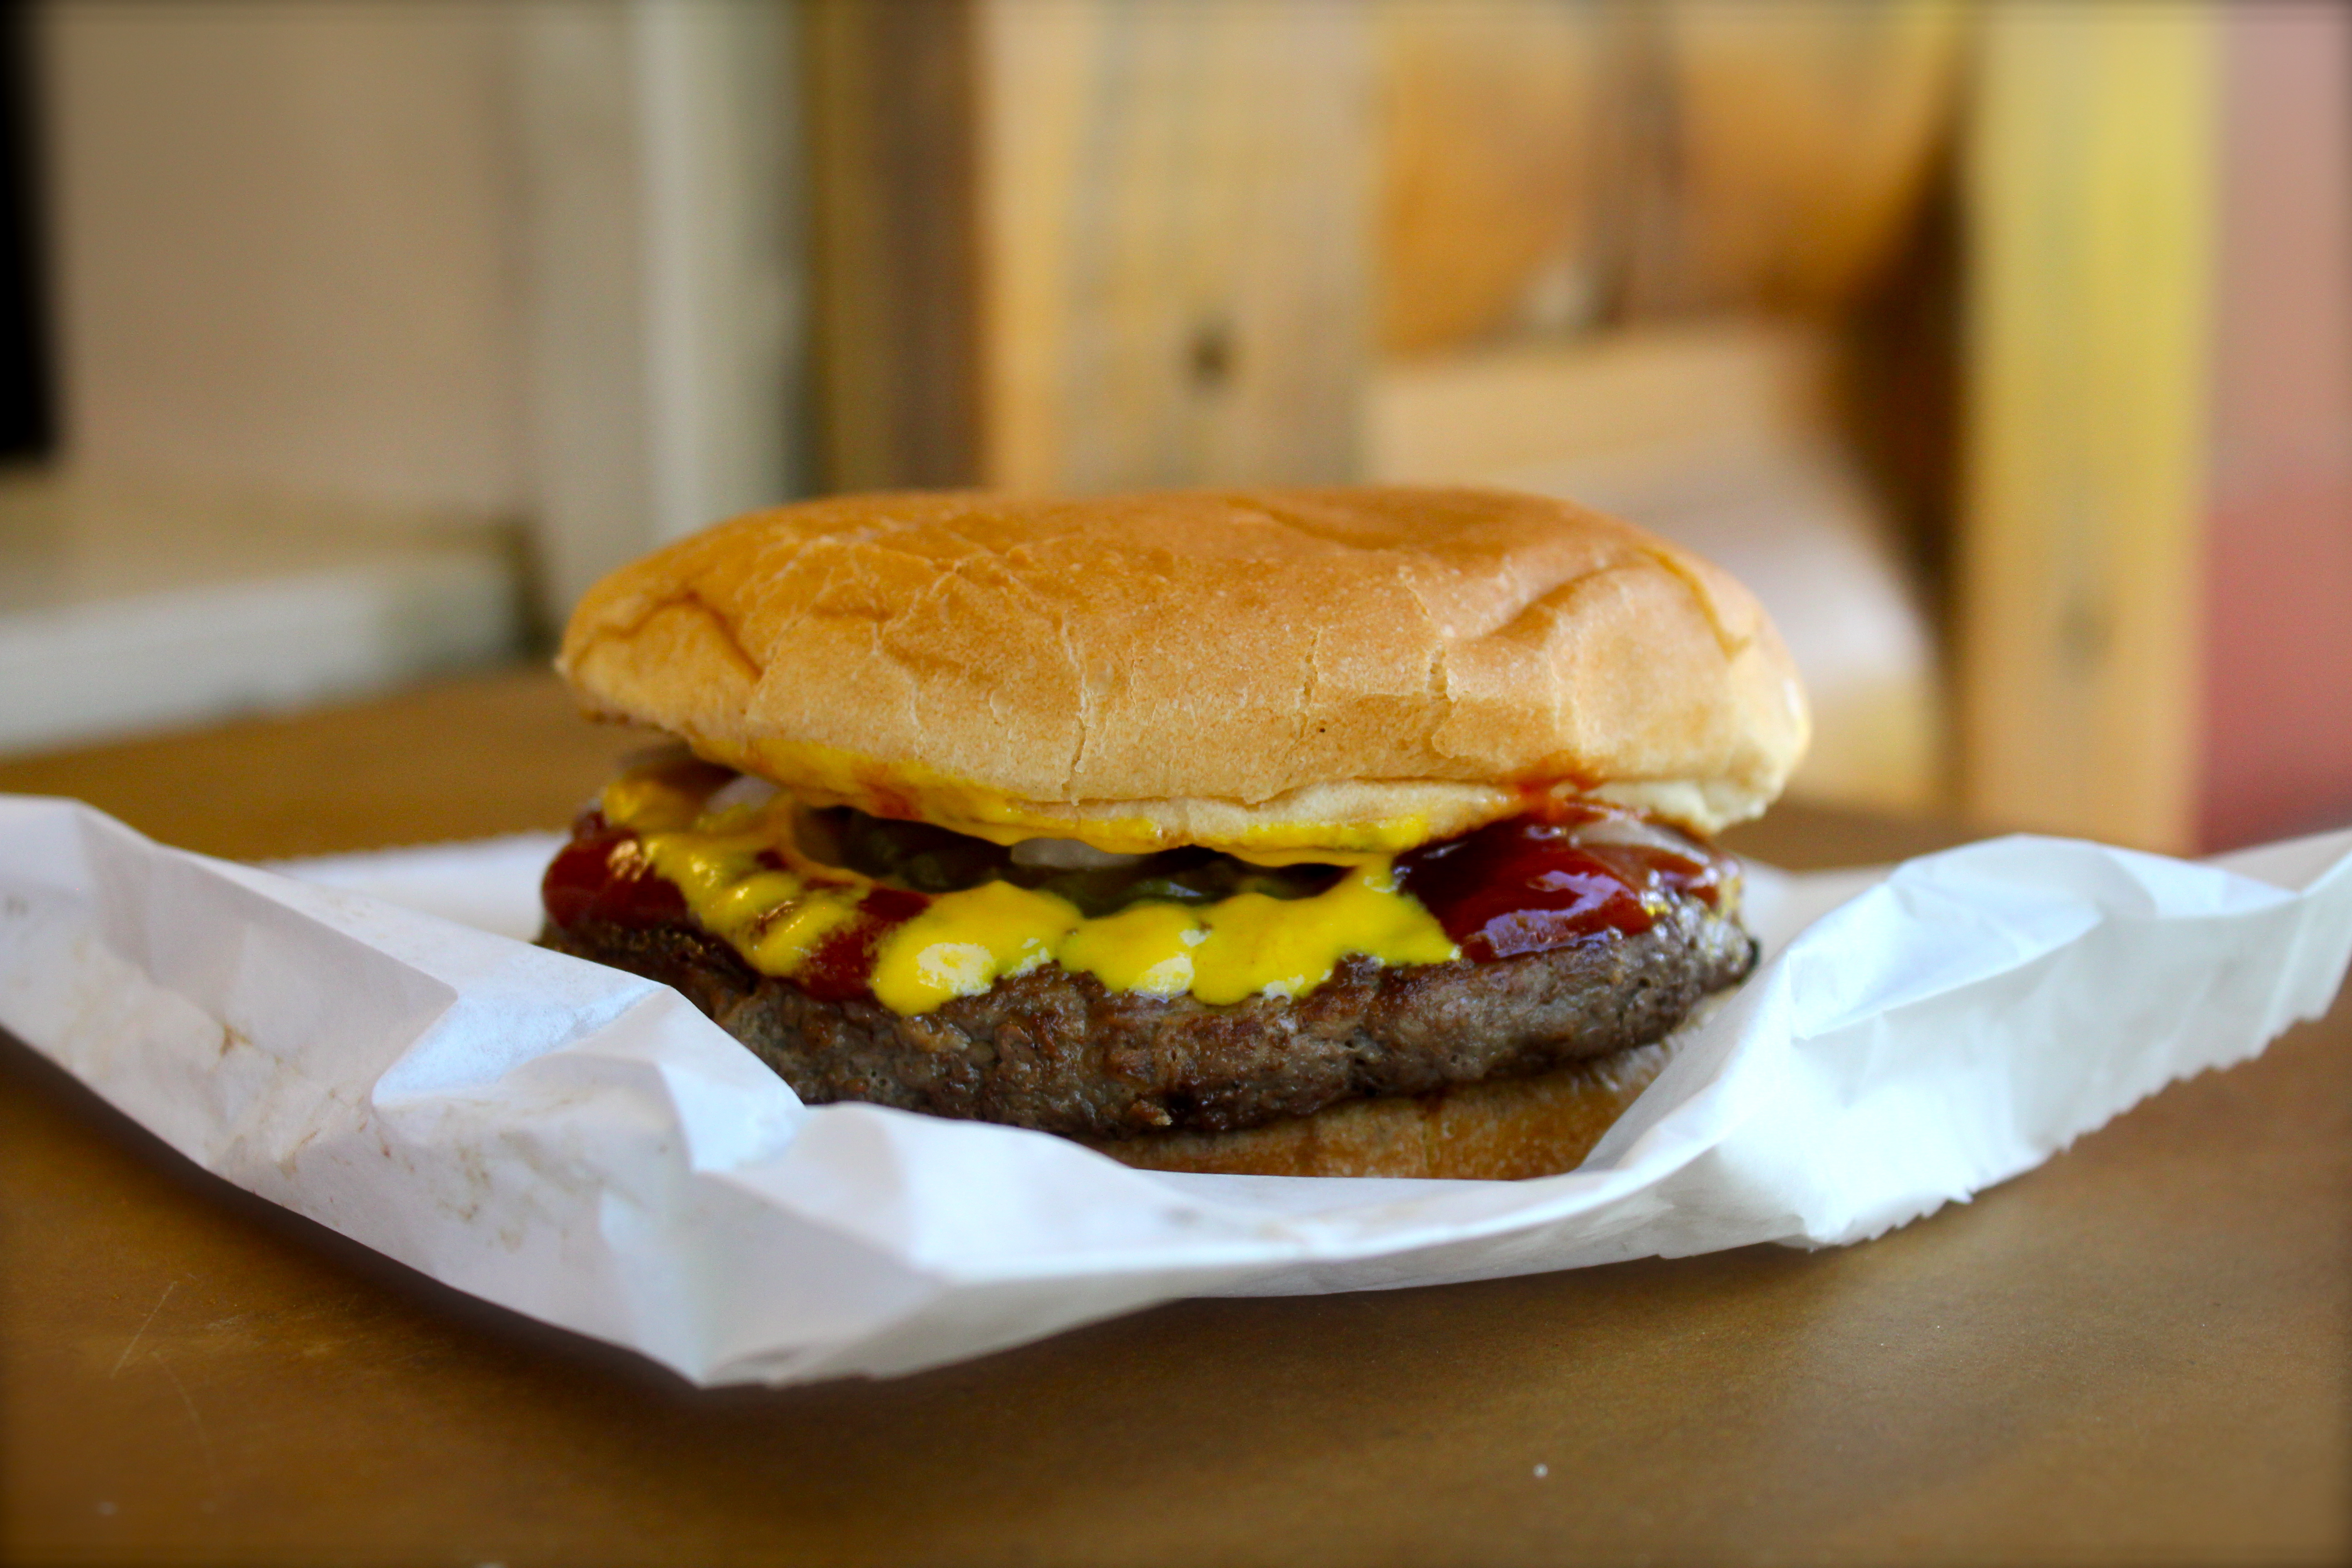
Since then we’ve been working on that pheasant nugget recipe, experimenting with different Shore Lunch flavors and the oil temperature until we now consistently get these tasty little morsels you see here:

IMG_4340

Mm, mmm!

To make these nuggets, cut up thawed pheasant breast into nugget-sized pieces. Roll each piece in egg, and then shake it in a bag of Shore Lunch (we use cajun). Heat the oil in the gas cooker to 350 degrees. Drop in the pheasant nuggets and fry for about 5 minutes, or until they float and look golden-brown.

Easy peasy, as they say.

IMG_4342

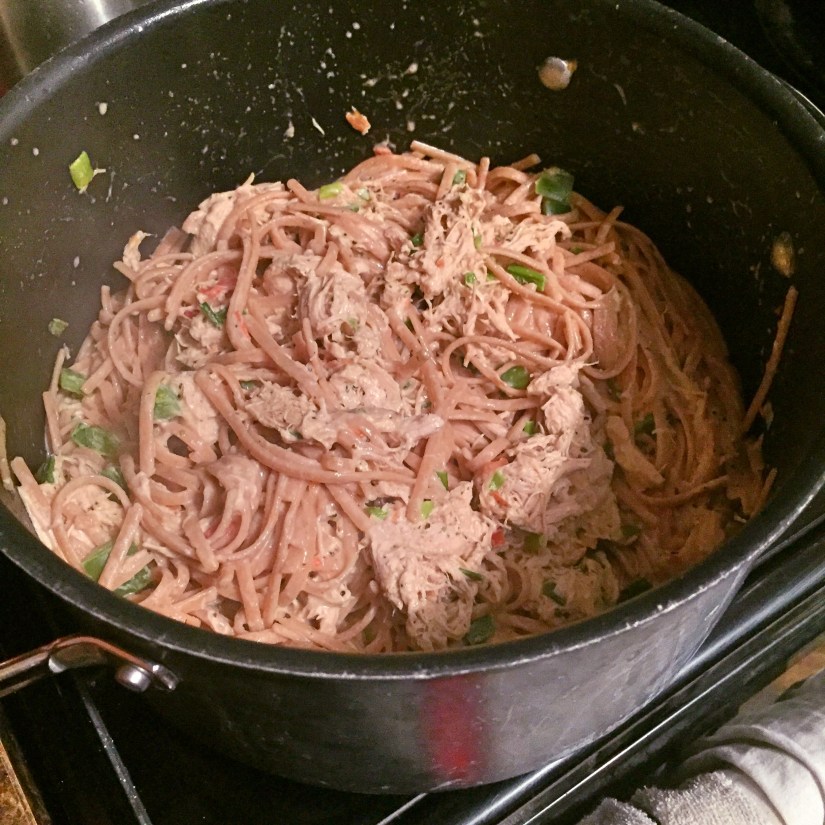
If you don’t have a deep fryer, or don’t think you like deep fried food (in which case, I don’t get you at all), we have another pretty tasty pheasant recipe in the form of cajun pheasant alfredo.

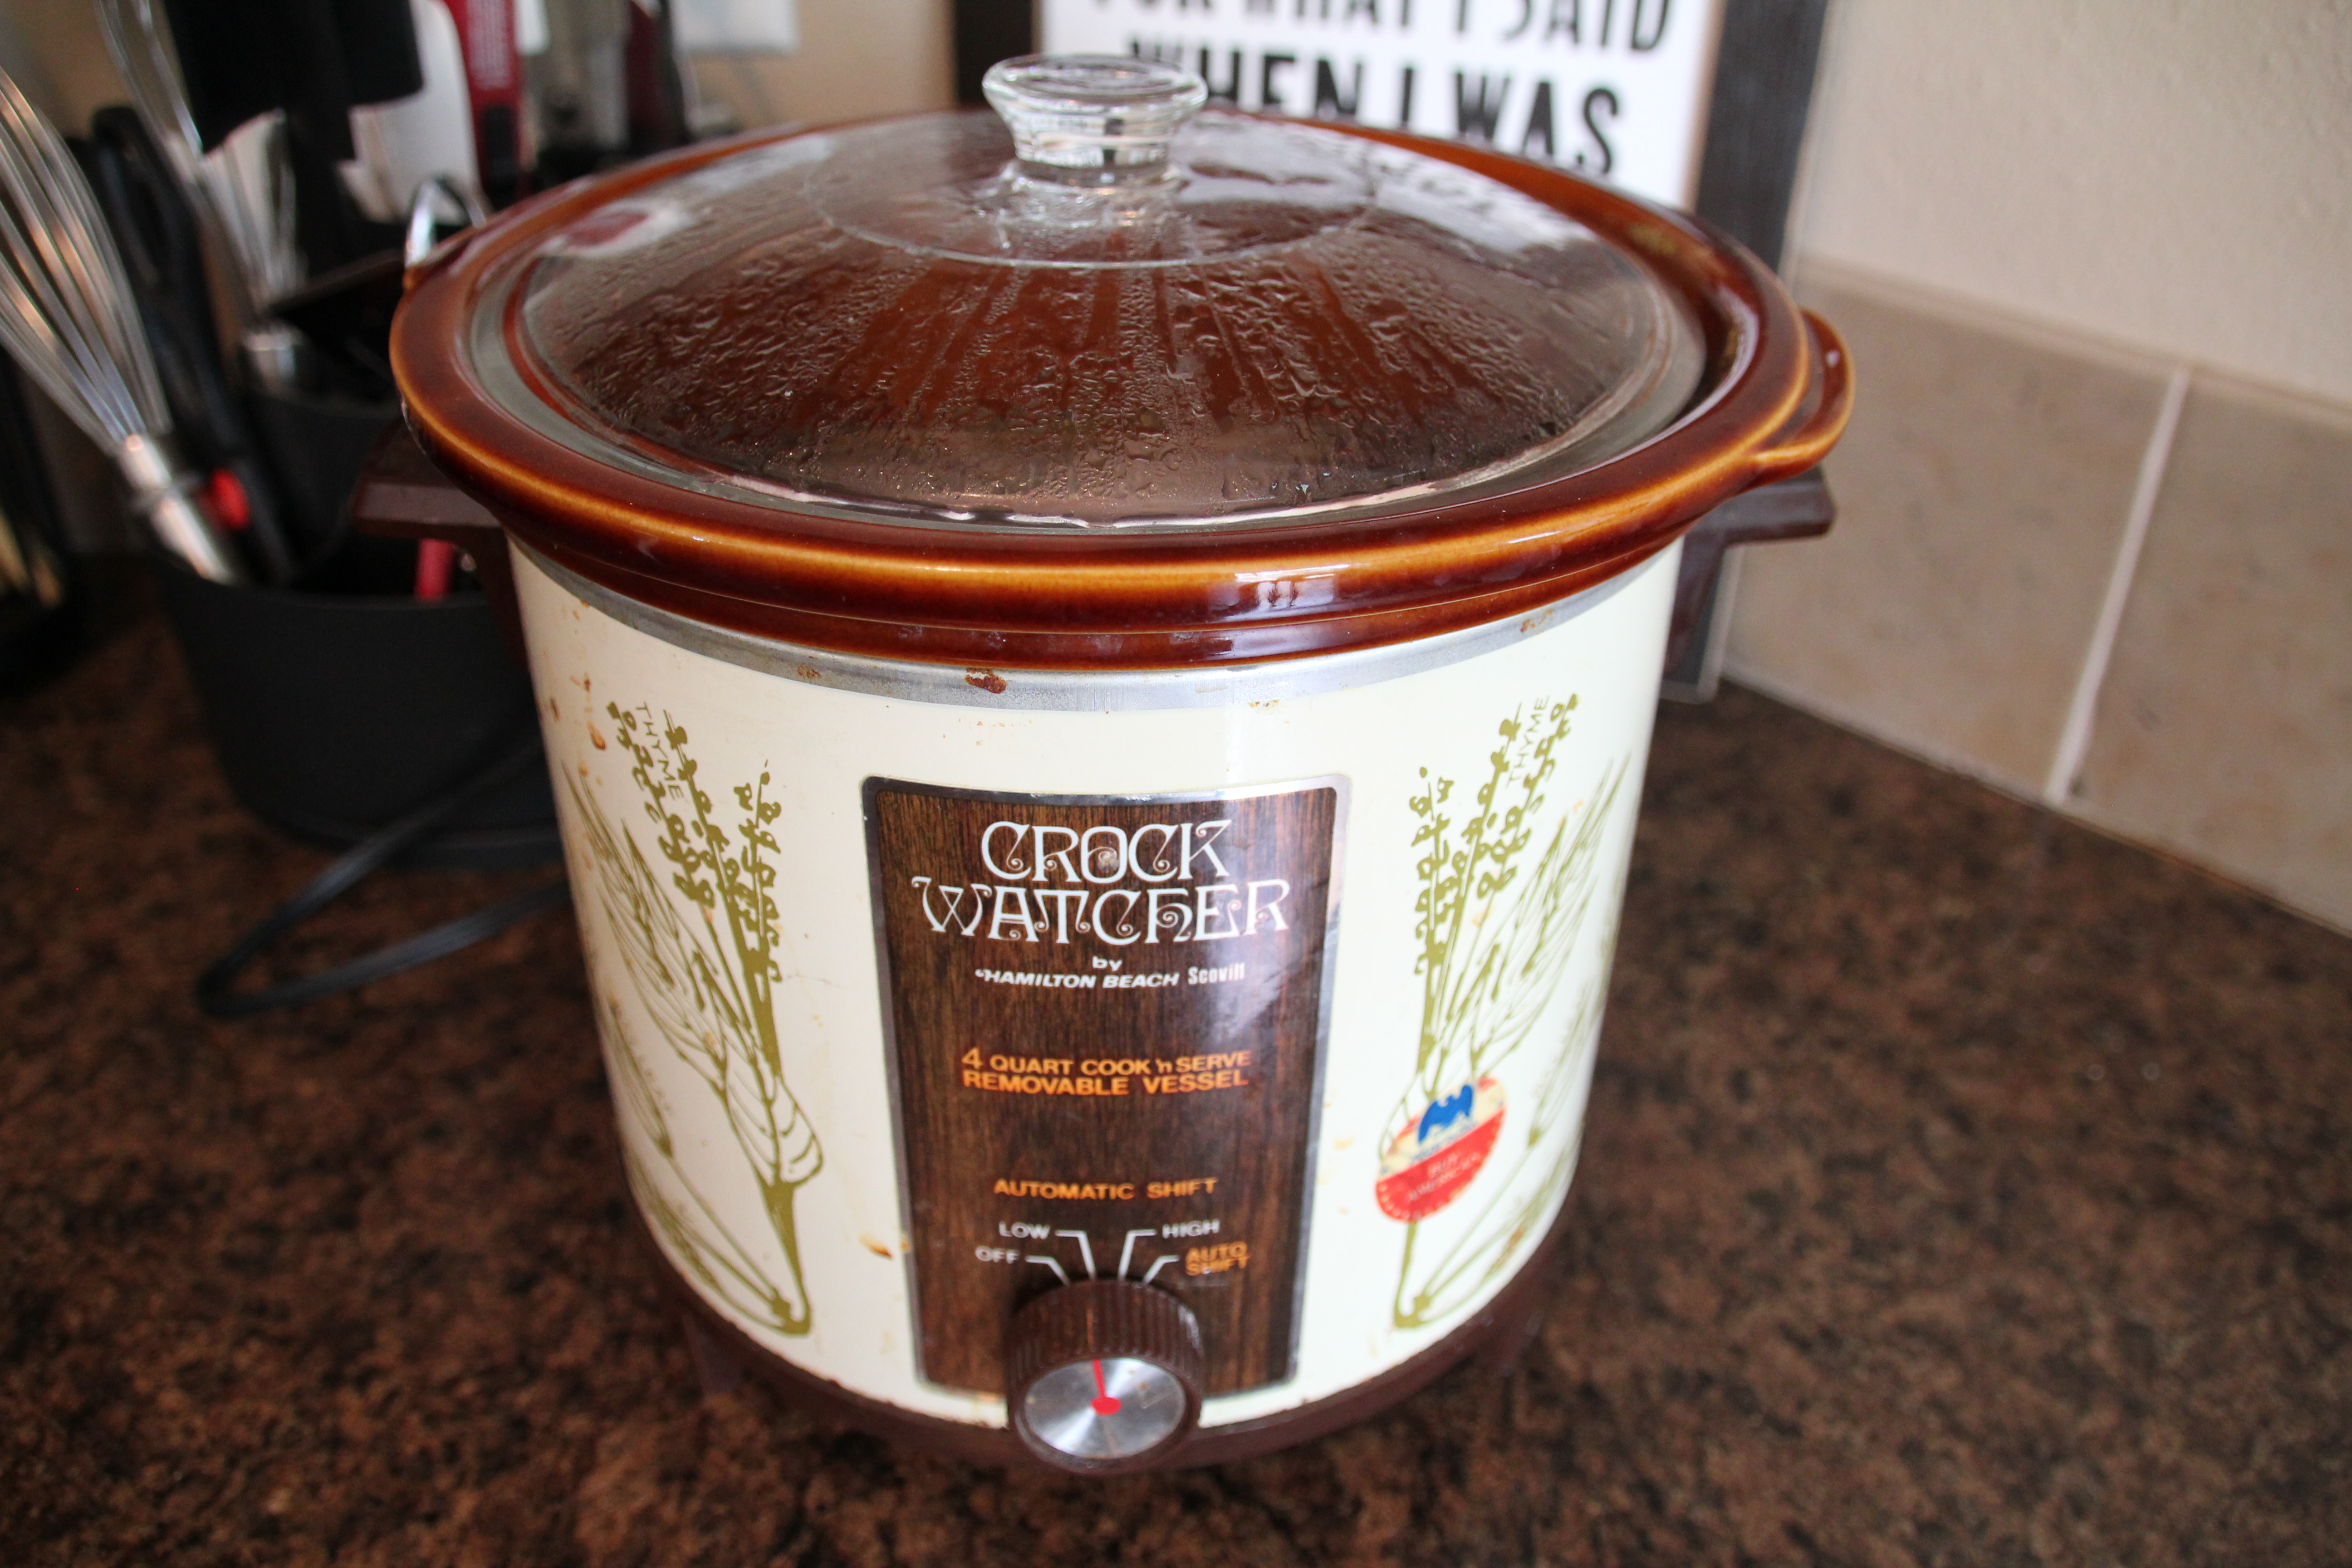
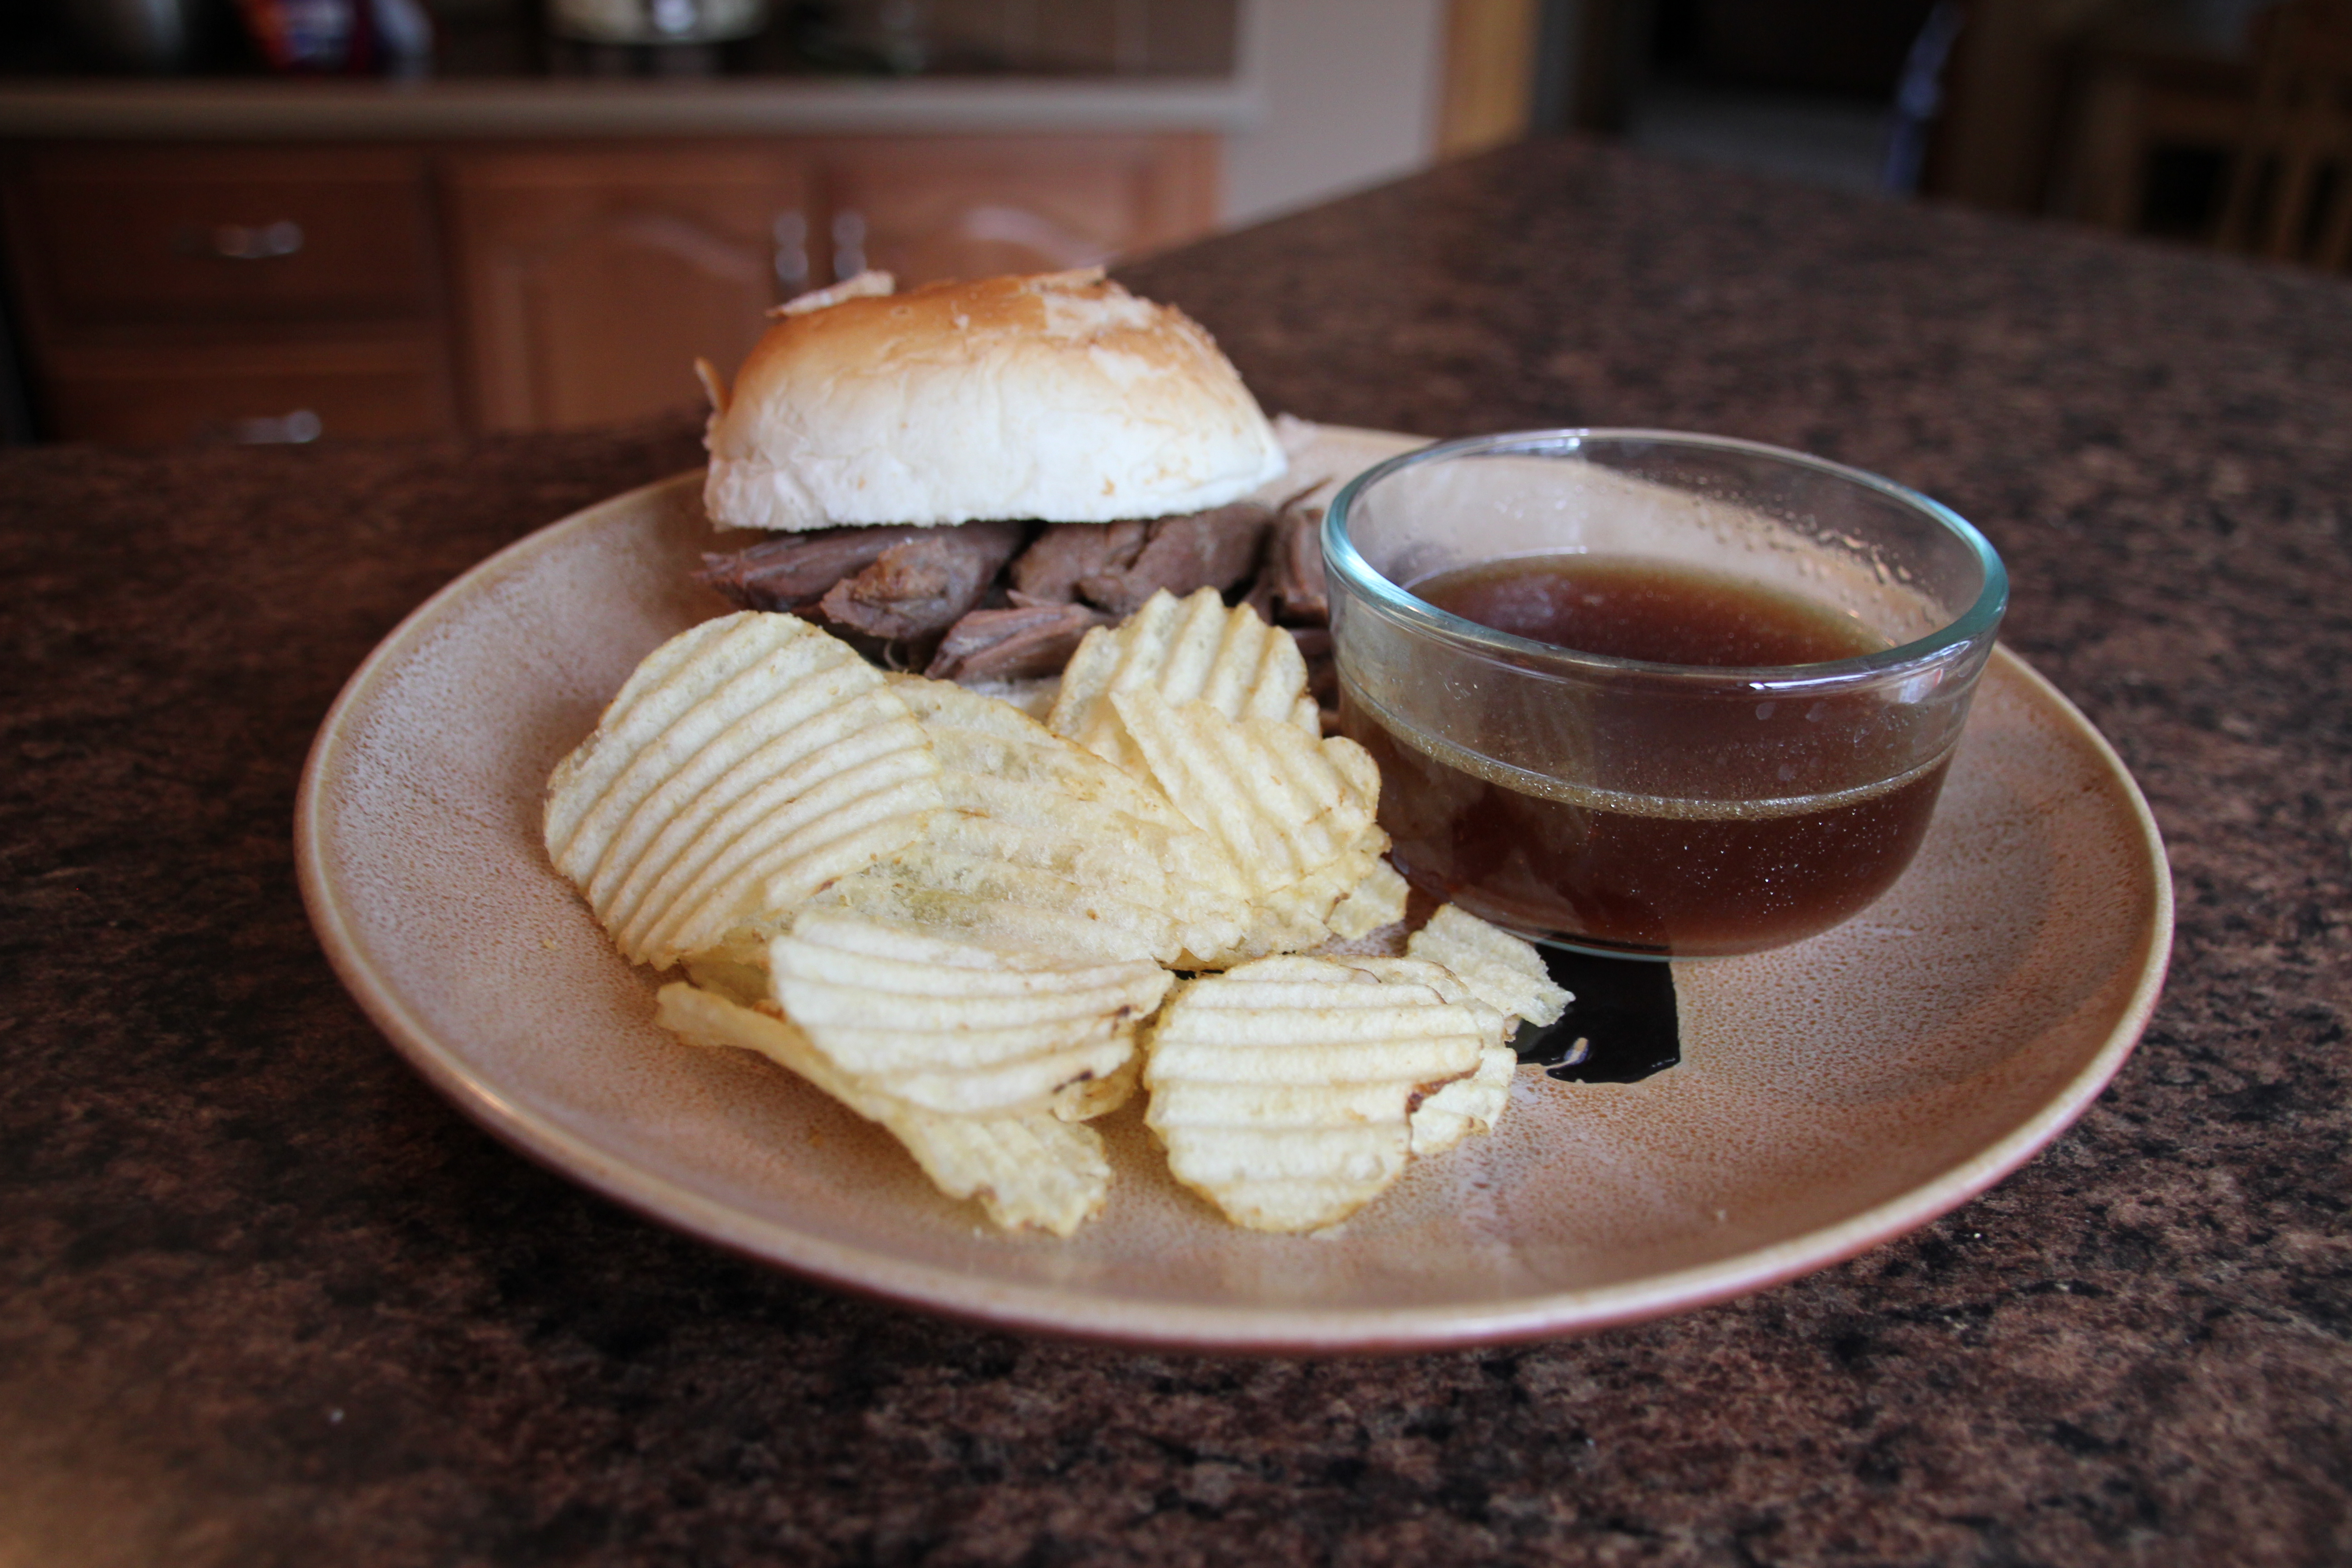
To make the alfredo, I like to soften up the meat a bit beforehand, as pheasant can be a little gamey. To do so, I soak pheasant breasts in milk overnight and then throw them in the slow cooker on low, with a cup of chicken broth, while I’m at work. Then that night, I drain and shred it. Perfectly soft and shredded for pasta! Regardless of how you end up with your cooked and shredded/ diced/ chopped pheasant, here is what you do with it:

First, boil water and set linguini to cooking. Also, toss cooked pheasant pieces in cajun seasoning.

Next, in a large saucepan, sauté diced tomatoes, green peppers, and green onions in a little bit of oil (I’m sure other veggies would be great, too.) Add seasoned pheasant pieces. Season veggies and pheasant with basil, pepper, salt, and  garlic powder. Pour in 1-2 cups of cream and 1/2 cup of parmesan cheese; stir all together until cheese is melted. Pour over linguini and toss. (There is a bit more detailed recipe below.)

Pretty tasty!

IMG_3269

Happy Thanksgiving to you!

Cajun Pheasant Alfredo

2 pheasant breasts (cooked and cut into small piece)
8 oz linguini
2 tsp cajun seasoning
1 green onion, diced
2 T tomatoes, diced
1 green pepper, diced
1/4 tsp salt
1/8 tsp black pepper
1/4 tsp dried basil
1/8 tsp garlic powder
2 C cream
1/2 c grated parmesan cheese

Cook linguini according to package.
Coat cooked pheasant evenly with cajun seasoning.
In a large skillet, sauté green onion, tomatoes, and pepper in olive oil. Add cooked pheasant pieces to skillet. Season with salt, pepper, basil, and garlic powder.
Add cream and parmesan cheese. Stir all together until cheese is melted.
Pour over linguini and toss.

How To's

How To: Caramel Apple Pie Bombs

Today is the first day of November, and what says “November” more than apple desserts? Apples really are the perfect fall fruit. Lately, I’ve been slicing them up and enjoying them with caramel dip, adding them to my oatmeal in the morning, and most recently, I used them in a dessert that is most definitely worth sharing with you. I pinned it a while ago and have been wanting to use it, and today I had the baking itch for long enough to actually get in the kitchen and throw it together. Let me just say, worth it! (My husband says so too.) We enjoyed them tonight after a dinner of roasted broccoli and ricotta-stuffed shells, another recipe worth sharing, but I’ll save that one for another time.

I adapted my version of this recipe from a recipe on Country Outfitter, which you can find here. They are perfect little bites of apple, cinnamon, sugar, and caramel, and taste especially good when served with ice cream or, in my case, cream poured over top. Yum, yum! And to make it even better, they were incredibly easy to make.

Because I adapted this recipe, I’ll share what I did specifically, but I’m sure the original is good too!

First, I preheated the oven to 350 and diced up two apples. I tossed the apple pieces in a bowl with one tablespoon of cinnamon and two tablespoons of sugar. I also cut up caramel squares into 4 pieces each. (I’m thinking you could also use those little caramel “morsels” they have in the baking aisle. Those things are gooooood.)

Next, I opened a can of refrigerated biscuit dough, and flattened all 8 pieces out to make little biscuit-dough pancakes. I spooned some of the apple mixture onto each little pancake, topped each with a few little caramel pieces, and pinched the dough together to make little balls of dough filled with apple-caramel mixture.

FullSizeRender_2

Then, I buttered a casserole dish and placed the apple pie balls into the dish and brushed each one with melted butter.

IMG_3222

Finally, after each one was sprinkled with brown sugar and the leftover apple pieces, they baked, uncovered, for exactly 20 minutes (any longer and the crust, especially the bottom, would have been too done, so I’m glad I didn’t go the full 25 minutes).

Here is the final product!

FullSizeRender

The original recipe suggests making a caramel sauce to pour over top. I skipped this step — I don’t like desserts that are too sweet, and I often think apple desserts are tasty enough without too much sweetness added. If you like caramel a lot, by all means go for it! Hubby and I both thought it was good enough without it. I DID, however, as I mentioned above, put my apple pie ball into a bowl and poured a little half-and-half over top. Oh man, that was good. I love cream, and it goes so well with cinnamon and apples!

This would be a good recipe for Thanksgiving or Christmas in lieu of regular pie. I actually liked it better than regular pie, just because I LOVE dough and sometimes pie crust is just not doughy enough for me! The biscuits added the perfect amount of dough to complement the apples and cinnamon, at least in my book.

Happy November!

How To's

How To: Cowboy Caviar & Tater Tot Hot Dish

It is officially the beginning of fall, that time of year where I shiver all the way to school in the mornings and blast the AC on the way home (so confusing). I love fall, though, and I know I’m not alone. There is something so refreshing about the crisp air, frosty mornings, and colorful leaves.

Fall brings another reason to celebrate: FOOD! (“Wait, Rachel,” you may ask. “Isn’t every day a reason to celebrate food?” Why yes! But just let me pretend that I have a legitimate reason to celebrate food on this particular day.)

In particular, fall is football season and comfort food season. Friends and family gather to watch football games on Sundays from now until later in the winter, and having an easy appetizer or two to throw together is a must. The crisper air also means those creamy comfort foods just taste that much better. Plus I’m sure our bodies are just helping us to prepare for the harsh North Dakota winters by really making us crave things like mac & cheese, creamy soups, hearty meat sandwiches, and the like (that’s my excuse, anyway. Survival, man).

To start, I’m going to share a recipe for Cowboy Caviar. It is actually my husband’s recipe. He has adapted it over time and isn’t even sure where he first got it. It’s a perfect appetizer for football season, as it makes quite a nice amount — perfect for sharing — and is also a little healthier than the usual Velveeta-based chip dip as it is chock full of veggies, beans, and delicious spices.

The second recipe I’m sharing today is a favorite classic around these parts: Tater Tot Hot Dish. (Yes, it is a “hot dish” and not a “casserole” because we are in North Dakota, darn it.) This is comfort food at its finest, and is a perfect recipe for a fall Sunday after church. It takes no more than a couple minutes to throw together and then bakes for a little under an hour, which gives you time to change out of your church clothes, do some Sunday chores, and prepare any desired side dishes. I found it years ago in my cookbook North Dakota: Where Food Is Love. I’ve adjusted it slightly, but the credit here goes to Marion Meether who contributed the recipe. Thanks, Marion! It really is a recipe of love.

IMG_3069


Cowboy Caviar 
1 can black-eyed peas, drained
1 can black beans, drained (my husband uses a can of black beans in chili sauce)
1 can corn with red & green peppers, drained
3-4 Roma tomatoes, diced
2 avocados, diced
4 green onions, diced
Cilantro (hubby really can’t tell you how much. “Just put some in.”)
Juice of 1 lime, 2 for extra flavor (in a pinch, hubby uses lime juice from a bottle)
Chipotle spice to taste
Chili pepper/powder to taste

Mix all together in a serving bowl and serve with Wheat Thins or black bean tortilla chips (my personal favorite). You will not regret making Cowboy Caviar!!

IMG_4174


Tater Tot Hot Dish
1 lb ground beef
1 pkg. dried onion soup mix
1 can cream of chicken soup
2 cans green beans
1 pkg. frozen Tater Tots

-Spread raw ground beef on the bottom of a casserole dish. I use a 9×13 metal baking dish. Just be sure whatever dish you use has a flat surface to ensure even cooking.
-Season the ground beef with onion soup mix – no other salt is needed. You can also sprinkle some water over the ground beef (about 1/4 cup) for a juicier casserole or if your hamburger is extra lean.
-Cover the hamburger with the cream of chicken soup. Spread evenly.
-Next, layer on both cans of green beans.
-Finally, top with Tater Tots – yep, the entire package.
-Bake uncovered at 350 degrees on the center rack in your oven for a little under an hour — about 50-55 minutes.

Optional add-ons: You can dice onions and add to the hamburger, add an extra can of green beans, top with cheese for the last 10 minutes, and/or serve with ketchup or sour cream. It goes great with mixed fruit and crescent rolls on the side!

IMG_2992

Enjoy the fall weather and of course, some delicious fall eating!


How To's

How To: Chalk Paint Furniture

With our recent move, my hubby now has a shop for all his tools in an old quonset no one was using, and with summer vacation I’ve had a little more time for projects I’ve been meaning to do for months. I’d like to share my last little project with you, which we did last week before all the craziness of harvest started (more on that later). Oh, and there is the craziness of school starting in a week and a half… I do believe I should probably go set up my classroom and get some lesson plans done!

Why can’t I just do fun projects all day? Sigh.

Anywho, Hubby and I found this little desk at a garage sale last summer for $15. I liked its size and two drawers, but not so much its color. It just looked kind of blah, really didn’t match anything we had, and was scratched and scuffed all over.

IMG_4109

I meant to paint it all winter but just didn’t get to it with the wedding and school and the move.

Speaking of moving, I have finally put this desk to good use since we moved to our little modular home in the country. In our previous house, I had a built-in desk in the kitchen which I used all the time, and Hubby had his own space for an office. Here in our little modular home, one spare bedroom is, well, the spare bedroom and storage space. We turned the other little bedroom into an office. Hubby set up shop in the office, but I decided I’d rather put this little desk in the living area and keep it stocked with a few supplies and power cords that I use a lot. I do a lot of blogging, photo editing, and Pinning on this little desk. It’s extra convenient because I can look up recipes and still be near the kitchen.

The time finally came to get this desk spruced up. I’d heard a lot of good things about Annie Sloan chalk paint and decided to pick up a quart in Bismarck at Eco Chic Boutique, which carries Annie Sloan paint, brushes, and wax. If you don’t know much about chalk paint, it gets its name from its thick chalky texture. It is NOT the same as chalkboard paint, which is also popular right now. Chalk paint is a hit because you don’t need to do any sanding or prepping beforehand, no matter what you are painting on. That sounded good to me!

At Eco Chic, I picked up a quart of the color called Old Ochre, a pretty antique off-white which is exactly what I’d envisioned, and a can of the soft wax which is recommended after painting. (I also impulsively bought a quart of Duck Egg Blue because I liked it so much.) The cost of a quart of chalk paint is kind of shocking, but once I actually used it, I found the cost to be well worth it. It definitely lived up to the hype!

I also decided that rather than paint the whole desk with the Old Ochre, I wanted to stain the desk top to a darker, richer wood hue and paint the base with the Old Ochre. I’d seen some examples of this online and really liked how it looked.

Here is what we did:

First, we took off the drawers and hardware and moved the desk to the shop. Hubby sanded the desk top with his belt sander. Remember, this would not be a necessary step for the chalk paint, but because I decided to stain the top instead, we had to sand down the old varnish.

IMG_4120

Next, we stained and painted the desk. After a few tries finding the right stain color for the top, we chose a beautiful rich color called simply Walnut and applied two coats. We only used one coat of chalk paint for the base of the desk. We quickly found out that you do NOT need to over-apply this paint! A little goes a long way. In fact, right away I tried putting it on a bit too thick. I quickly realized that this only led to noticeable build-up and paintbrush lines that I didn’t want. Applying a thin layer worked much better. It was amazing, actually, how little paint it took to cover the whole thing.

IMG_4126

After that, we applied the Annie Sloan soft wax, which is a protectant for the chalk paint. I was a little uneasy about this step, but it turned out to be the easiest step of all! You simply use a rag or a wax brush to massage the wax into the wood. It was a lot like applying lotion. (I heard that on one of the tutorials I watched, and it made a lot of sense!) I used a discarded t-shirt cut up into rags to apply the wax, and it worked just fine.

IMG_4127

Finally, we reattached the drawers and took the old girl back home. I absolutely LOVE how it turned out! It looks so much better in our living area. The wood top matches a lot of our other pieces well, and I love the pretty look of the Old Ochre chalk paint. Perfecto!

IMG_4132 IMG_4130

Here is a before and after:

Desk

I am especially happy because I have my little work space back again just in time for the school year to start! I envision myself spending a lot of time here this year.

IMG_4139

I will definitely be using chalk paint again. In fact, we’ve already painted a couple of our boring little wood pieces with the Duck Egg Blue just for fun. They look great. I can’t wait to pick up more colors (after my next paycheck, that is.)

Just for reference, here are two of the resources I used before using the chalk paint for the first time:

The Beginner’s Guide to Annie Sloan Chalk Paint & Wax by The Thinking Closet

How to Wax with Annie Sloan Soft Wax by Eco Chic Boutique

You should try it! Happy painting!

How To's

How To: Slow Cooker French Dip

It’s allergy season for me, so I’ve been hiding in the house a little more than usual this week. But that’s ok, because I had a chance to do some indoor jobs — no, not the teaching units, sadly, but I have done some laundry, cleaning, cooking, and general organizing that really needed to be done. Let’s just say my domestic side has gotten a little rusty this summer and it’s about time I used it again.

This morning I hauled out the crock pot. I love my little old crock pot, which was handed down to me by my mom. We actually got a shiny new silver one for our wedding, which has fancy settings and a snap-on lid, and I love that one too, but more often than not I get out the trusty old guy instead.

IMG_4021

Today, I cooked up something especially fabulous: My mom’s French dip sandwiches. All the boys are preparing for harvest this week, and with all the shoveling grain and cleaning out combines and squeezing in some mowing, they were all pretty grateful when I offered French dip sandwiches and fresh-cut strawberries for dinner. This recipe is perfect for hungry workers, as the crock pot can just sit on low to keep the meat warm until they come in. And you just never know quite when dinner time is around here.

This French dip recipe is so good, in fact, that I just need to share it with you all. I’m sure you will all be thanking my mom afterward. It turns a big clunky roast into tender, flavorful slices of roast beef and creates perfect au jus for dipping.

For this recipe, select any two or three-pound beef roast. I’ve used several different types of roast, including chuck, arm, sirloin tip, etc., and really this recipe works well with any of them, even the toughest of cuts. Be sure it is thawed out before you put it in the crock pot. I also usually cut it into two or three pieces beforehand to ensure more even cooking and to make the slicing easier later.

To begin, dump into the crock pot a can of beef broth, some soy sauce, and cup of water (to make the au jus), and then the seasonings: bay leaf, ground thyme, garlic powder, and peppercorns. Add the roast. Turn the slow cooker on low and cook for 7-8 hours.

IMG_4026

See, wasn’t that incredibly easy??

I would show you what the roast looks like cooking in the crock pot, but I have a thing against picking up my crock pot lid while it’s cooking because I don’t want any moisture to escape! Call me superstitious or something. It’s all in there though, I promise.

IMG_4035

After 7-8 hours, lift the roast pieces out of the crock pot and slice. Strain the juice in the crock pot into a bowl or container to remove the bay leaf, peppercorns, and extra pieces of fat floating around, and then pour the strained juice back into the crock pot. Place the sliced meat back in the au jus to keep everything warm and tender until ready to eat. This last step could be skipped, but I think it makes the meat especially juicy and flavorful to put it back in the au jus after shredding it.

When you are ready to eat, scoop out some meat with a slotted spoon onto your bun or bread slices…

IMG_4052

Spoon a little au jus into a bowl…

IMG_4054

And eat!

Now if that wasn’t the easiest tasty recipe I’ve ever followed, I’m not sure what is, but let me tell you this is one good sandwich. Thanks Mom!

In case you are wondering what that sign peeking out from behind my crock pot says, here it is:

IMG_4024

That perfectly sums me up. My poor husband.

And before you get too impressed with my domestic abilities after I just showed you how to make the best French dip sandwich ever, here is what happened to the cookies I made today:

IMG_4056

Oh, well, can’t win them all. I did tell you my domestic side is a bit rusty these days. Good thing my dad likes crunchy cookies.

Slow-Cooker French Dip

1 can beef broth
1/2 C. soy sauce
1 bay leaf
1 tsp ground thyme
1 tsp garlic powder
1 T whole peppercorns
1 C. water
1 3-lb. roast

Put beef broth, soy sauce, bay leaf, thyme, garlic powder, peppercorns, and water into crockpot, and stir. Add roast. Cover and cook on low 7-8 hours. Slice meat. Strain juice. Place both back into crock pot until ready to serve. Place meat on rolls. Use juice for dipping.

How To's, Musings

How to: Iced Mochas

We are officially settled in to our little modular home on the farm. The appropriate items have been put into storage for the time being, the rest of the boxes are unpacked, and we can actually walk through the guest room now. My husband is hard at work at his new job, and my teaching job starts again in about three and a half weeks.

Oh dear.

What do teachers even do during the summer? you non-teachers may ask. Well, I wish I could tell you. Every year when school gets out, the summer seems to stretch before me like an endless dream. Time! I think. Time to do all my projects, all my trips and travels, all those units I’m going to plan for the next school year. And every summer, suddenly it is nearly over and I think I might have done a project or two, but I couldn’t tell you for sure. I know I haven’t planned any units for school. That one’s for certain.

What I’ve really done this summer, besides a bit of travel and running around to family events, is move to our new home in western North Dakota and drink a lot of iced mochas. And you know what? If I don’t have much more than that to show for the summer, I guess that’s ok.

Right now, I’m going to share with you how I make these iced mochas. They are delicious and cheap. Kind of like my time this summer. Sigh.

How to Make Delicious Iced Mochas at Home (or any other variations of iced coffee!)

Step 1. Cold brew coffee. I learned about this method via Pinterest and Pioneer Woman. For those of you who haven’t heard of her, she is a ranch wife and mother with a brilliant blog and show on Food Network. Cold brewing means that rather than brewing a hot pot of coffee the traditional way, you pour cold water over coffee grounds, let it soak or “brew” for several hours, and strain the liquid out. This method is great for iced coffee in the summer because 1) you can make a large amount of iced coffee at once and 2) the coffee is strong and cold enough to handle ice cubes without melting them and getting all watered down.

Here is the link to the instructions on Pioneer Woman’s blog that first led me down this wonderful iced coffee path: “The Perfect Iced Coffee.”

A few of my own tips to add to her instructions:

First, I’ve experimented over the last couple summers with different types of coffee — extra dark roast, French roast, breakfast blend, medium roast, etc. Although right away I went all out to create the darkest, strongest coffee possible, I found the taste to be a little too overpowering and backed off to a less intense blend. Honestly, though, I think I use a different brand or type of coffee every time. It depends on what’s on sale and what I have in my cupboard when I get a hankering. You may have to experiment to find your own personal preference. I typically just dump whatever grounds I choose into a large Tupperware container that looks like this:

IMG_2548

Second, Pioneer Woman recommends straining the coffee through a cheesecloth. However, the cheesecloth I had on hand was not fine enough to actually strain out many coffee grounds, so my first attempt ended with a pile of coffee grounds on the bottom of my pitcher. The next time I tried it, I didn’t feel like running to the store to search for finer cheesecloth, so I rummaged through my supplies to see what I could use instead. I was delighted when I found an old sheet I had recently ripped up to use for rags (it was very clean, I promise). The piece of sheet, draped over my big strainer as I pour the coffee through, lets through the liquid without letting a single coffee ground escape. Perfect! It’s not just an old sheet anymore – it has a special place in my drawer as a very important kitchen tool. And yes, it is in fact an old Sesame Street sheet, so Bert, Ernie, Big Bird, and the Cookie Monster are there to help me every time I make iced coffee.

IMG_2550

Final tip: I used to pour the cold coffee into a pitcher. But then I decided to splurge on a beverage dispenser at Target for about $16, and it was the best decision I ever made. (I say that a lot). Walking to the fridge and dispensing iced coffee into my glass is a breeze. It’s also helped a lot as I’ve slowly transitioned into my family’s iced coffee lady. Summers ago, my little brothers started to realize that when I’m around, the fridge ALWAYS has iced coffee in it. So when they’re out working in the hot sun, they stop in for frequent “coffee breaks.” It was a problem when I just had coffee in a weenie little pitcher and didn’t know about the cold brew method. I would make a pot of coffee in the coffee pot, wait hours for it to cool… and it would be gone before I even had a chance to pour myself a glass. But now, with my big, tough drink dispenser that can hold up to two gallons of cold brewed iced coffee, it’s no deal at all! The boys get their coffee, and I don’t get grumpy. I like to think the cold brew method and my beverage dispenser have improved family relationships around here.

IMG_2554

The coffee dispenser, of course, has a prominent place in the refrigerator:

IMG_2555

Ok, I think I’ve spent enough time discussing cold brew coffee. But it’s a serious matter, you guys.

Step 2: Once you have your jug of iced coffee, pour the desired amount into your desired drinking container.

Step 3: Add whatever it is you like to add to your coffee. In recent summers, I have kept a carton or two of International Delight’s Iced Mocha on hand.

IMG_2547

I pour a mixture of about two-thirds iced coffee and one-third ID Iced Mocha into my glass. Then I top with a little splash of half-and-half and a handful of ice and end up with a creamy, delicious, refreshing iced coffee drink. My husband adds a splash of flavored creamer, such as French Vanilla, instead of half-and-half. Some of my brothers add only cream and no Iced Mocha. It just depends on what you like! Pioneer Woman even recommends using sweetened condensed milk, which I haven’t tried yet but which sounds delicious.

IMG_2504

If you like iced coffee as much as I do, this method might be worth a try. It’s made my summer iced coffee habit so much easier and economical.

Now to those unit plans… Aw, maybe tomorrow.

How To's, Musings

How to: Guacamole

Although an extensive list, some of my very most favorite things about summer include:

1. Time to travel far and wide

2. Time to explore close to home

3. Time for “summer tasties.” Aka GOOD FOOD. My favorite any time of the year, of course, but something special in the summer.

I talk about the first two quite a bit in Boomtown Diaries, so this time, I need to give just a little shout-out to the third one. In the summer, the produce aisles are bursting with color, the farmer’s markets are bursting with home-grown goods, and the smell of anything on the grill tantalizes everyone’s senses for miles around. Since the last day of school (aka, my last day of packed lunches and cafeteria food), I haven’t held back on all those promises I made to myself of summer tasties, all throughout the long winter months.

Let me give you a sampling of just one amazing weekend full of summer tasties.

It started when I collected my Bountiful Basket:

IMG_2714

This was like Christmas. I paid a reasonable price a few days in advance and on the designated Saturday, went to collect my basket. It was a beautiful sight. For days I ate fresh apple slices, nectarines, butter lettuce, peppers, and cucumbers, and drank lemon-lime-cucumber water, which apparently is bursting with health benefits.

I didn’t eat the brussel sprouts, though. Some habits die hard.

I had also never done much with avocados, but when I found them in my basket I decided I was craving homemade guacamole, so I did a little research online and whipped up my own version of various recipes I found, taking out things I didn’t like and adding a couple others. It turned out pretty good, if I do say so myself. See the recipe below.

IMG_2736

That same weekend, I hopped over to a nearby boomtown which every Saturday night from Memorial Day to Labor Day grills “hamburgers in the park” for anyone who wants to stop by and fork over a couple bucks to the local Lions Club. Why are these hamburgers so good? I don’t know. But they are. I’ve been trying to get my hands on them every summer Saturday since the days I was ten years old. Growing up, we played a game of whiffle ball every Saturday after eating hamburgers. These days, the whiffle ball gang is scattered far and wide, but the hamburgers are still tasty.

I enjoyed my first “hamburger in the park” of the summer on the same Saturday I picked up my bountiful basket. Double the bliss.

IMG_2732

The next day, we put some of the peppers from my basket to use and grilled some pretty amazing steak kebabs.

They were also somewhere on the scale from Christmas to heaven.

IMG_2748

(Saul was also very interested in these kebabs.)

IMG_2751

And to top it all off, I had found a Coke in a little boomtown convenience store that was from Mexico. For those of you who don’t know, Coke from many countries south of the American border tastes much better than American Coke. My brother Joey, who once brought me a Coke from Guatemala, says it’s made with real sugar unlike our American version, which is made with high fructose corn syrup. I admit, both the Guatemala Coke and the Mexico Coke have proved their superiority in my book.

Plus, why does it taste better from a glass bottle?

It’s just one of those little mysteries of life.

IMG_2744

Mysteries like:

Why are hamburgers grilled in the boomtown park by the Lions Club the tastiest of all?

Why did I feel an almost-spiritual connection to that beautiful, colorful bountiful basket? Can fresh fruits and vegetables speak to the soul?

Why did I use the word “bursting” three times in this blog post?

Why haven’t I made steak kebabs every day of my life?

Maybe these aren’t deep life mysteries. Maybe they are just more evidence of the fact that summer, including all of its “tasties”, basically kicks butt. Maybe summer makes everything crisper, fresher, crunchier, more tender, and more refreshing.

Here is one recipe for a delicious summer treat.

GUACAMOLE

Ingredients:

2 avocados, peeled, pitted and mashed
Juice of 1 lime
1/2 tsp salt
1 tsp minced garlic
1/2 red onion, diced
2 T chopped cilantro (I used fresh)
1 diced tomato (I actually used 2 roma tomatoes since they are a bit smaller)
1-2 diced jalapeño peppers (skip if you don’t like much spice)
A pinch or dash of cayenne pepper

Directions:

Mash together the lime juice and salt with the mashed avocados. Mix in the rest of the ingredients. Add or remove ingredients to taste. Refrigerate and SERVE!

A summer tasty. Delicious.